How to fill up a course and good practices
How to fill up a course and good practices
In order to start editing a course, please visit it's page. Once you are there, at the top left corner you will find this button  Please click on it to enable editing.
Once you are in editing mode, you will be able to move and add new elements to your course.
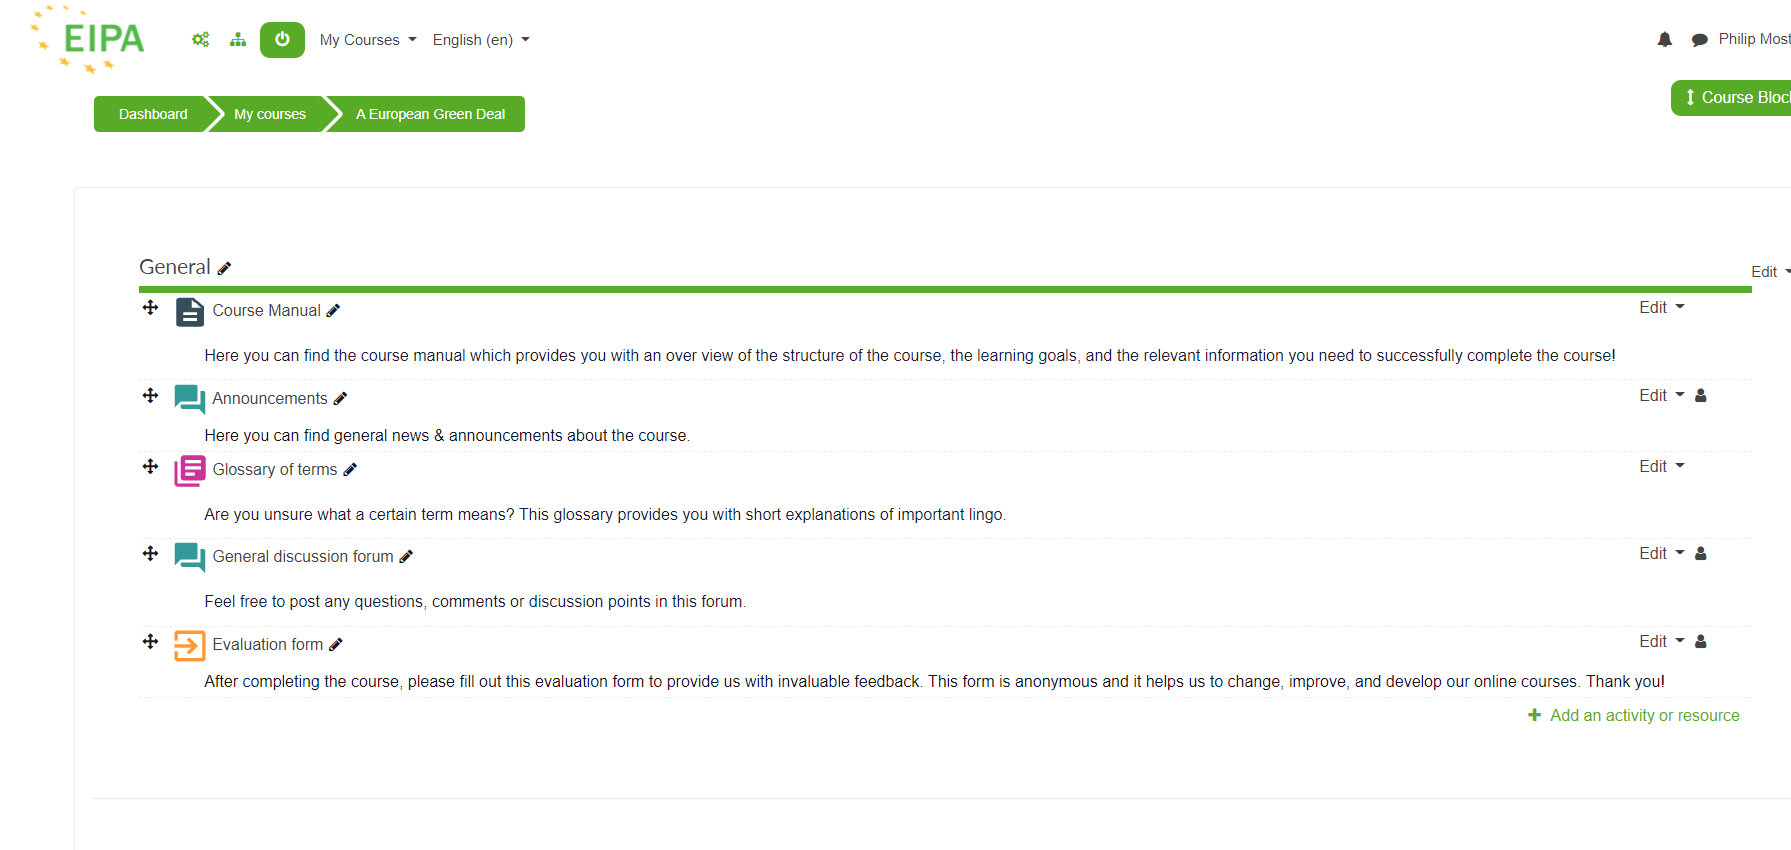
1) You can drag and drop elements
2) You can change their names by clicking the pencil
3) You can edit the options of specific elements
4) You can edit the options of specific topics
Getting started:
Once you create a course, by default, the announcement board will be placed in there.
What does the announcement board do?
The announcement board is a communication tool for you to get in touch with the participants in your course. Once they are enrolled, you can send a mass email to everyone in the course via the board. Please strucure the messages on the board the same way you would structure an email. We usually recommend to send out an announcement message at the start of the course, once everyone is enrolled. This message will act as a kickstart for your event/seminar, and will indicate everyone involved that the course is happening, and that we are fully devoted to it. Please keep in mind that the message will not be send out instant, but rather in 30 mins. In those 30 mins, you will have the time to check for typos and etc. Please do not forget that you can edit the message on the announcement board by clicking in "Edit" at the page of the message
+.
How to add a file?
The first step would be to enable editing, and then to go for 
If you want a single file, you should choose: 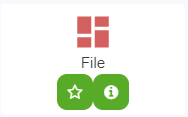 , give it a name, upload it and save.
What is it, and what can I do with it?
The file module enables a teacher to provide a file as a course resource. Where possible, the file will be displayed within the course interface; otherwise students will be prompted to download it. The file may include supporting files, for example an HTML page may have embedded images.
Note that students need to have the appropriate software on their computers in order to open the file.
A file may be used
- To share presentations given in class
- To include a mini website as a course resource
- To provide draft files of software programs so students can edit and submit them for assessment
How to add a folder?
Instead of file, you would have to choose folder, which looks like: 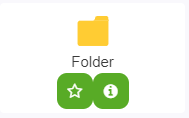
The folder module enables a teacher to display a number of related files inside a single folder, reducing scrolling on the course page. A zipped folder may be uploaded and unzipped for display, or an empty folder created and files uploaded into it.
A folder may be used
- For a series of files on one topic, for example a set of past examination papers in pdf format or a collection of image files for use in student projects
- To provide a shared uploading space for teachers on the course page (keeping the folder hidden so that only teachers can see it)

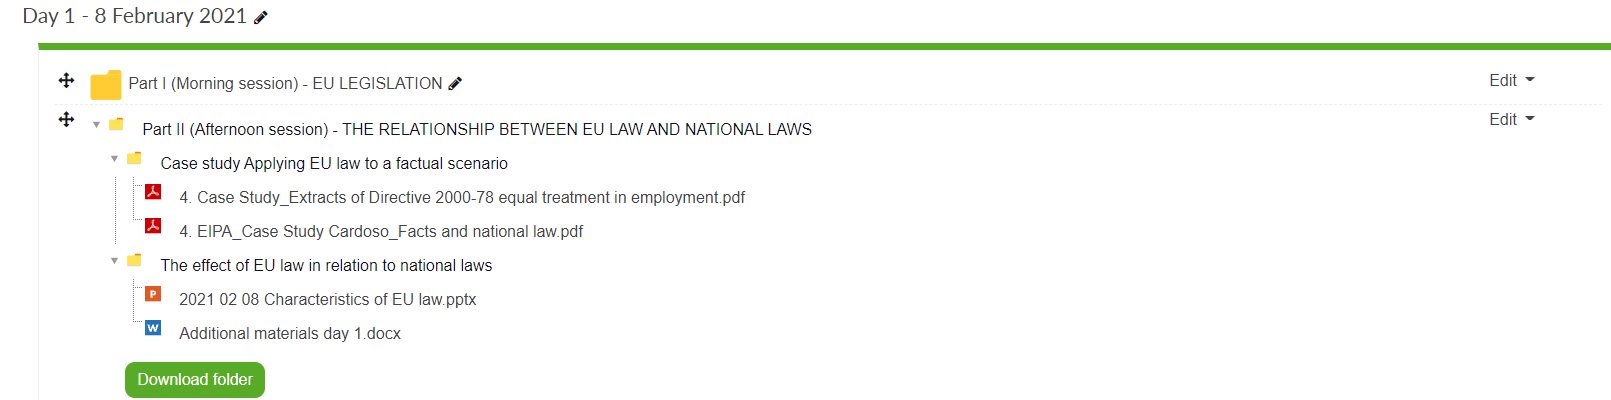
There are 2 ways to view your folder:
Part I) on a separate page:
Part II) inline on a coursepage and download button: